

Subfloor Preparation for Underfloor Heating: Base Layer Requirements
Underfloor heating is only as good as the base it sits on. Most faults that surface as cracked screed or cold patches start in the subfloor: a base never quite flat, never quite dry, never quite sound. Defects travel up through insulation and screed, so the base deserves the same care as the pipework.
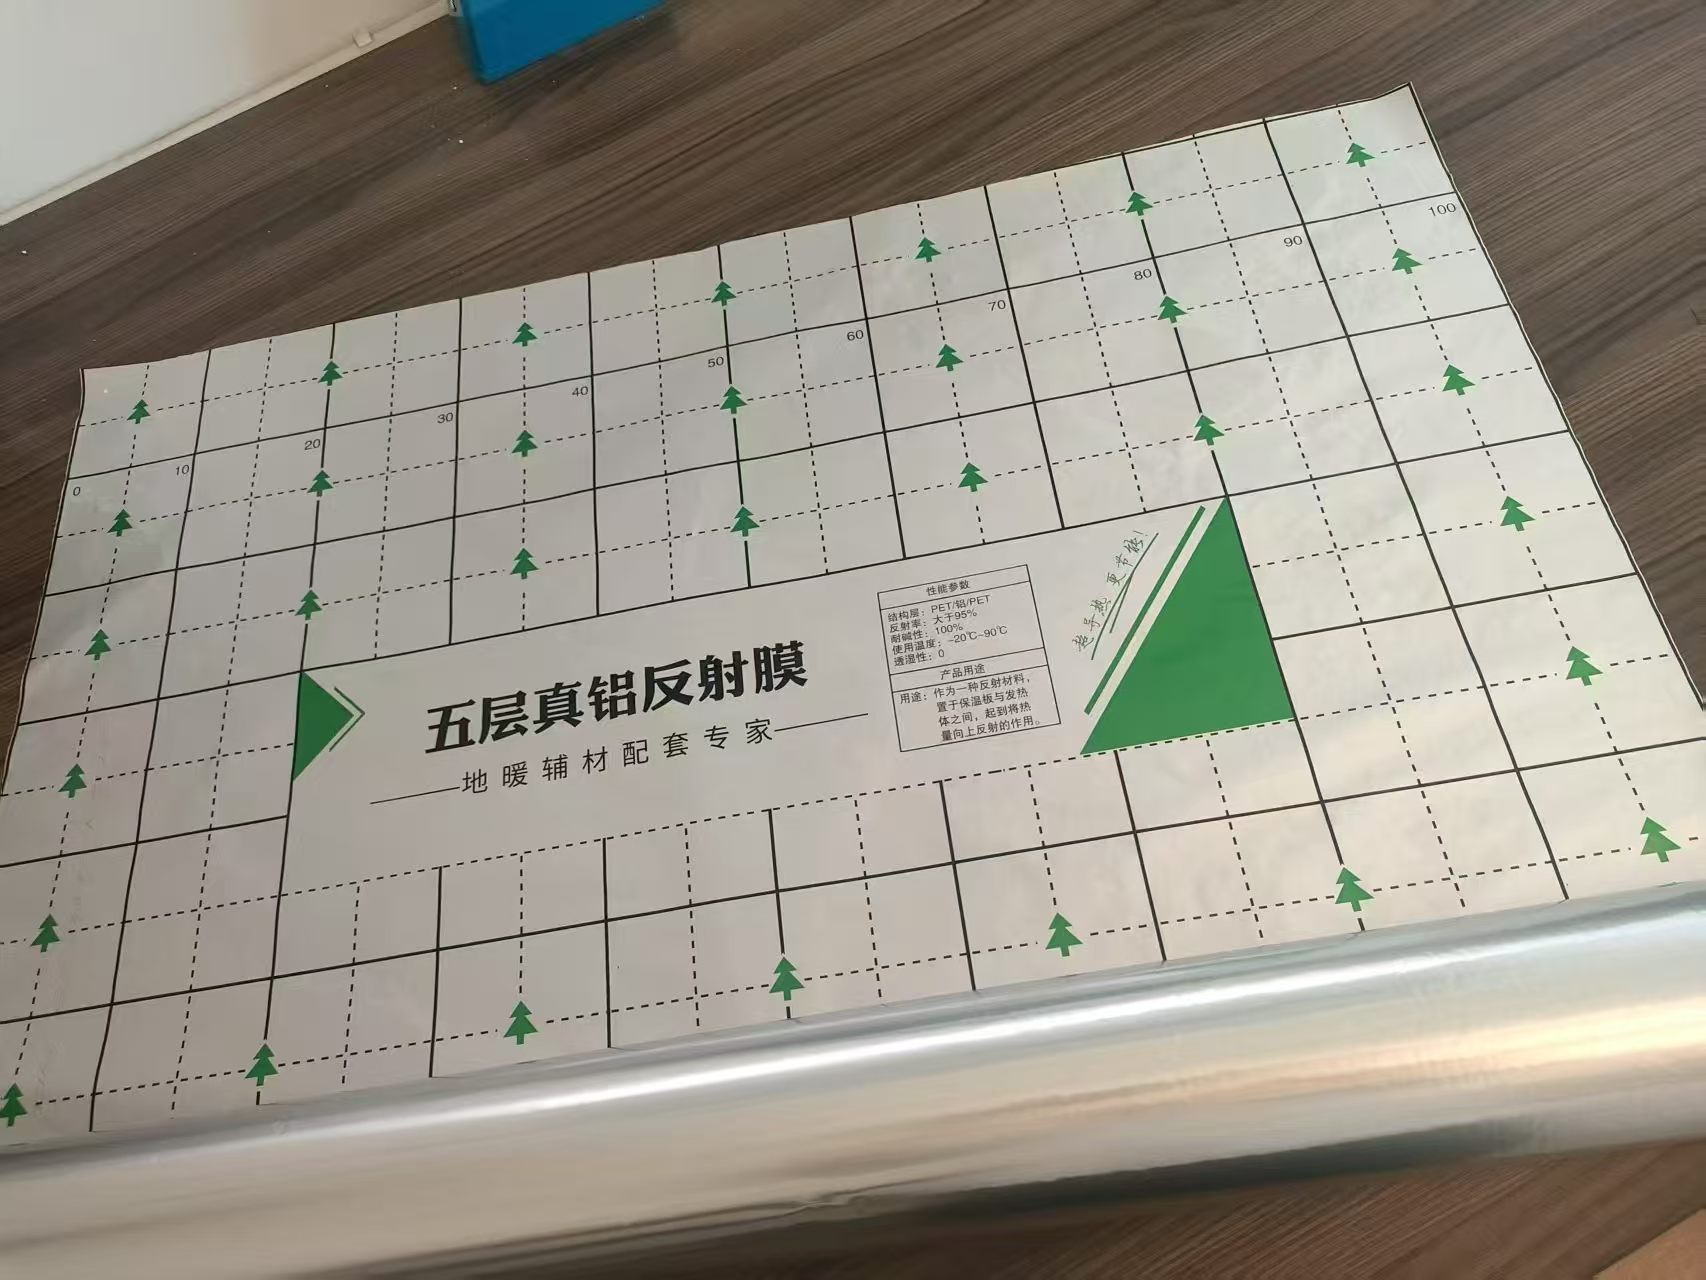
Why the Subfloor Matters
Pipe spacing and boiler output get the attention, but the layers underneath decide whether the system performs. An uneven base makes pipe bridge hollows, leaving air pockets between pipe and screed. A damp base pushes moisture into the insulation and drags performance down. A weak spot can crack the screed on first firing. Claims returning to the factory tell the same story: the fault is in the preparation, not in the product.
Checking a Solid Concrete Slab
Most new systems sit on a solid concrete slab, which deserves a survey first. Check level with a 2 m straightedge and mark high spots instead of assuming screed will absorb them. Look at cracks: hairline ones are usually harmless, but moving or stepping cracks need repair, possibly with structural advice. Test moisture last: a slab still drying gives up water vapour for months. Respect drying times on new slabs; test older ones with a moisture meter first.
Timber Joist Floors
Timber joist floors carry different risks. Deflection first: walk the floor and watch for movement, because a flexing floor passes it into whatever is fixed above, screed included. Rot second: damp timber, fungal growth or a musty smell means the structure must be opened up before heating work starts. Ventilation third: joists need air beneath them, and blocked vents commonly cause early failure. If the structure is sound, panels fixed to the joists are the usual route, with insulation between or above.
Damp Proof Membrane Placement
The damp proof membrane stops ground moisture rising into the insulation, where it would cut performance. Its place in the build-up is fixed: directly on the prepared subfloor, below the insulation layer, continuous across the full floor area. It should turn up at the edges, usually 100 to 150 mm, to meet the damp proof course in the walls. Sheet laps follow the supplier's instructions, typically 150 mm minimum, sealed along the joint. Reinforced polyethylene is the usual material. Any puncture lets moisture back in, so patch damage before the boards follow.
Insulation Boards in the Build-up
Insulation board does two jobs. Thermally, high-compression XPS or EPS board limits downward heat loss and keeps the floor responsive. Mechanically, on a clean, flat base, it gives pipe clips something firm to bite into and screed a stable surface. Thickness follows the heat loss calculation for the space below: a floor over an unheated garage needs more board than one over a heated room. Density counts too, because soft board can crush under wet screed and take the pipe down with it.
Levelling and Flatness Tolerances
The surface under the pipe must be flat enough for full contact with the screed. The accepted tolerance is 5 mm under a 2 m straightedge; beyond that, use a levelling compound rather than trusting the screed to sort itself out. Compounds flow over a primed, damp-proofed base and find their own level; the drying time is worth it. Where pipe clips into board directly, the board face carries the tolerance, so a smooth, closed, crush-resistant face is worth paying for.
Edge Insulation Strips
Edge insulation strip looks like the smallest line on the order sheet, yet it protects the screed from itself. Run around the perimeter before pouring, it separates the screed from the structural walls so thermal expansion has somewhere to go; otherwise strain appears as cracks across the floor. The strip also blocks thermal bridging at the wall junction. Polyethylene foam, usually 8 to 10 mm thick, stays in place after curing, trimmed flush.
One Supplier for Base-Layer Components
Base components tend to arrive from several places: the membrane from one merchant, boards from another, clips from whoever had stock. Each may be fine alone, but they were never designed as a set, and thicknesses and tolerances quietly disagree. Ordering the membrane, insulation boards, edge strip and pipe clips from one factory keeps the specification clean and responsibility in one place. Hebei Huinuanjia Thermal Insulation Materials Co., Ltd. makes the full floor heating insulation range under one roof, so an installer buys a matched package with installation data included. One call, one delivery, no compatibility guesswork.
Final Checks before Screeding
Before the screed goes in, run a short checklist. Take a moisture meter reading and confirm it is within limits for the screed and membrane. Walk the floor and look: boards sitting proud, membrane punctures, clips popped out of soft board. Run the straightedge over the pipe zone again. Then confirm every service penetration is sealed where it passes through the membrane; one unsealed entry can feed moisture into the build-up for years. Just ten minutes here is critical and prevents faults that end with a finished floor being lifted.
References
BS 8204-1:2002+A1:2009. Code of practice for concrete floors. BSI.
EN 1264-4:2008. Water based surface embedded heating and cooling systems - Part 4: Installation. CEN.
BS 8102:2022. Code of practice for protection of below ground structures against water from the ground. BSI.